
- Updated
- Digerati
- Tips & Tricks
- 841
- 0
Targeted color correction in Photoshop means changing one color, or one part of the picture, without disturbing anything else. The dependable method is to put each fix on its own adjustment layer, limit it to the right colors or region, and check the result against real pixel values as well as your eyes. This guide covers the main tools, skin protection, a worked example and when Camera Raw should come first.
What "Targeted" Really Means
A global adjustment treats every pixel alike: raise the saturation and the sky, skin, grass and shirt all move together. A targeted adjustment narrows the effect in one of two ways, and good retouching usually uses both.
- By color: the adjustment reacts only to a chosen hue range, such as the greens or the blues. Hue/Saturation, Selective Color and Color Range work like this.
- By area: a layer mask confines the adjustment to a region.
The catch is that the color you want to change often shares a hue with something you want to keep. An orange wall and orange skin respond to the same slider, so pair a color-based tool with a mask you can paint on afterwards.
Build Everything on Adjustment Layers and Masks
Every tool in this guide is available as an adjustment layer. Choose Layer > New Adjustment Layer, or click the Create new fill or adjustment layer button at the bottom of the Layers panel. The controls open in the Properties panel and stay editable, so nothing is baked into the photo.
Each adjustment layer has its own layer mask. White shows the adjustment, black hides it and gray applies it partially. If a selection is active when you create the layer, Photoshop builds the mask from it. Select the mask thumbnail to paint on it, and use the Feather slider in the Properties panel to soften its edge. For finer mask work, see masking specific tones with precision.
To make an adjustment affect only the layer directly beneath it, clip it. Our comparison of clipping masks and layer masks explains when to use which. The same habit powers non-destructive techniques such as dodge and burn. By contrast, Image > Adjustments commands change the active layer's pixels directly.
Read the Numbers with Samplers and the Info Panel
Your eyes adapt quickly, so a cast you have stared at for ten minutes starts to look normal. Check numbers before and after every change.
- Select the Eyedropper tool and Shift-click the image to drop a Color Sampler. Its readout appears in the Info panel.
- Place one on something that should be neutral, such as a gray road or white shirt, one on skin, and one on the problem color.
- With an adjustment open, the Info panel shows two values per sampler: the original on the left and the adjusted result on the right.
On a neutral object the red, green and blue values should sit close together. If one channel leads, that is your cast. In the options bar, Point Sample reads one pixel, while the averaging options read a small area, which suits grainy files.
Hue/Saturation: One Color Family at a Time
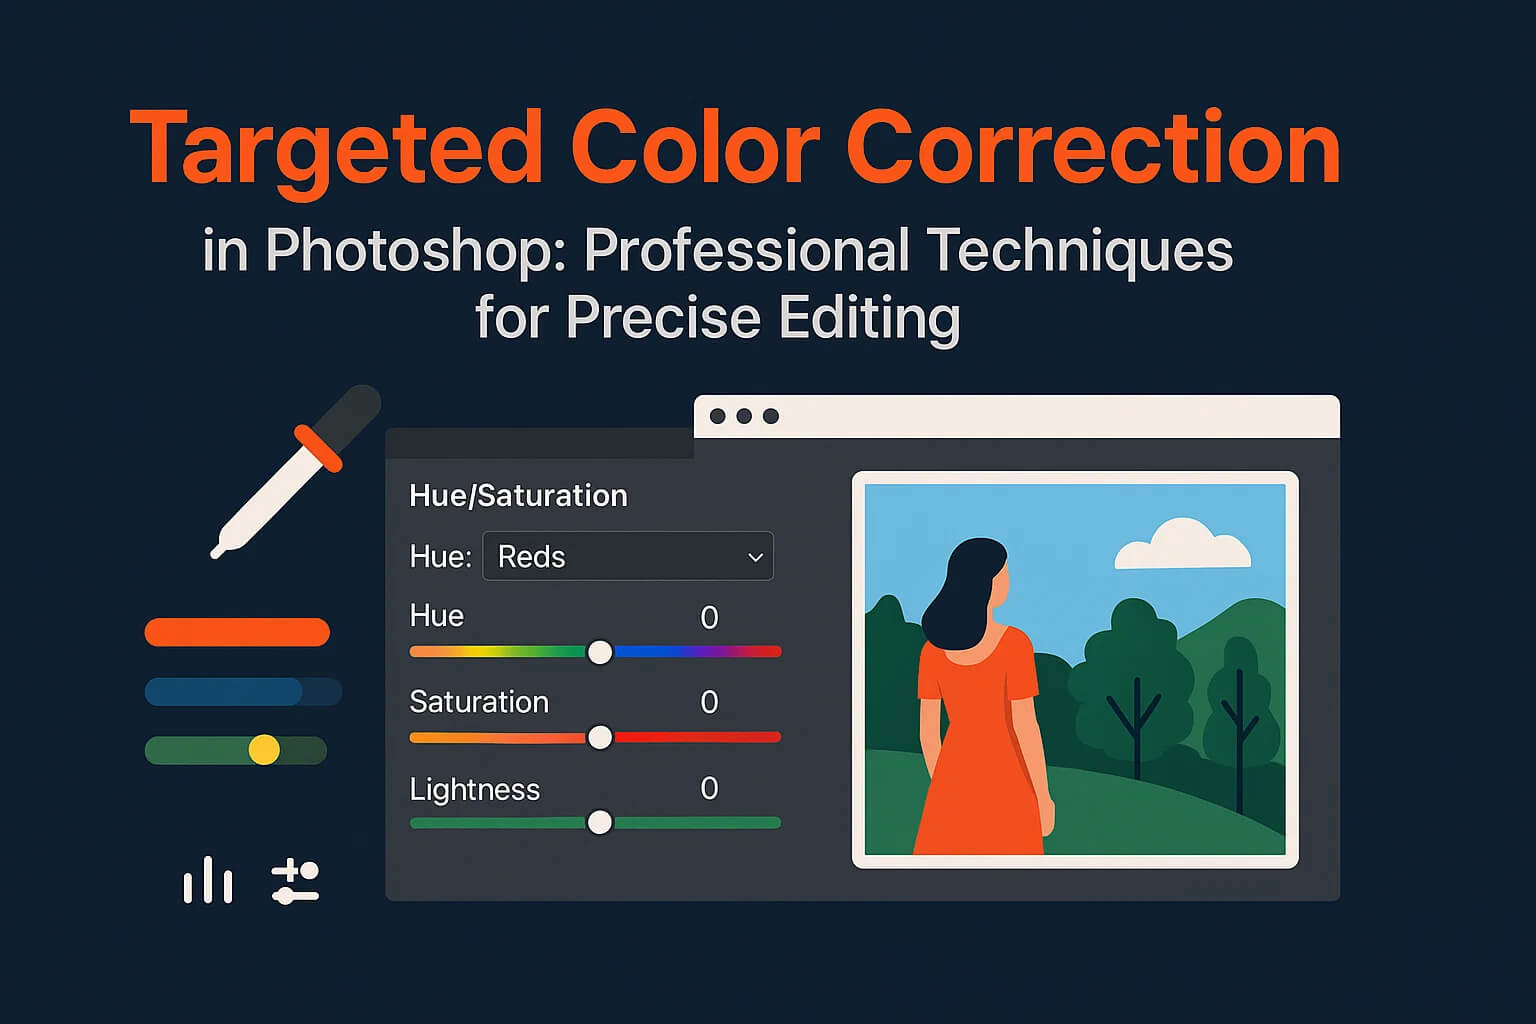
Add a Hue/Saturation layer. The dropdown in the Properties panel starts on Master, which affects every color. Switch it to Reds, Yellows, Greens, Cyans, Blues or Magentas to limit the edit to that family.
Between the two color bars, the inner vertical sliders mark the hues that are fully affected, and the outer triangles set the fall-off, where the effect fades out. A wide fall-off blends smoothly into neighboring colors. A very tight one leaves harsh transitions and can cause banding.
You do not have to guess which family a color belongs to. Click the Targeted Adjustment tool in the Properties panel, click a color in the photo, hold the button and drag right. Saturation rises for similar colors across the image. Drag the other way to reduce it, and click the tool again to switch it off. To test your range, push Saturation to an extreme for a moment and see what reacts.
When you are replacing an object's color, Adobe suggests setting the layer's blend mode to Hue and leaving Lightness at zero to keep the original contrast and saturation. If the old color tints the new one, turn on Colorize and readjust.
Selective Color: CMYK-Style Control
Selective Color adjusts each color family with Cyan, Magenta, Yellow and Black sliders, even on an RGB image. The Colors menu lists Reds, Yellows, Greens, Cyans, Blues, Magentas, Whites, Neutrals and Blacks, and edits blend according to how closely a pixel matches each family. Two methods matter:
- Relative changes a value by a percentage of what is already there. Add 10 percent to a pixel holding 50 percent magenta and you get 55 percent. It is gentler, but it cannot affect pure white, which contains no color.
- Absolute adds the stated amount outright, taking that pixel to 60 percent. It produces stronger shifts, especially in lighter tones.
Lowering Cyan in the Reds makes them purer and warmer, adding Yellow pushes them toward orange, and adding Black deepens them. The Neutrals family suits a midtone cast, and the tool suits product photos where one brand color has drifted.
Color Range: Selections Built from Color
Color Range turns a color into a selection that becomes a mask. Choose Select > Color Range, deselecting first if you want to replace an existing selection.
- In the Select menu, choose Sampled Colors for your own picks. Skin Tones, predefined colors and tonal ranges, and Out of Gamut are also listed.
- Click the color with the eyedropper. Shift-click to add samples and Alt-click (Option on Mac) to remove some.
- Set Fuzziness. Low keeps the range tight. Higher includes more colors and more partially selected pixels, giving softer edges.
- For several separate areas, turn on Localized Color Clusters. Its Range slider limits how far from your sample a color can be, keeping similar colors elsewhere out.
- Use Selection Preview (Grayscale, Black Matte, White Matte or Quick Mask) to judge the result, then click OK and add your adjustment layer.
Invert selects everything except your sampled colors, which suits an edit that should skip a color. Brightening only a blue sky, leaving buildings and foliage alone, is a classic use.
When the difference you need is brightness rather than hue, using luminosity masks for tonal color control works the same way by tone. A selection worth reusing can be stored as a channel, as our guide to saving alpha channels shows.
Replace Color for Bigger Swaps
Image > Adjustments > Replace Color pairs a color-range selector with Hue, Saturation and Lightness sliders and a Fuzziness control. It cannot turn pure gray, black or white into a color, though it can change their lightness. It alters the layer's pixels, so duplicate the layer first. For one specific object, Adobe favors a Hue/Saturation layer with a selection, which stays editable.
Curves and Color Balance for Color Casts
A cast is a tint that leans the image, or one tonal range, toward one color. Curves and Color Balance remove it cleanly.
Curves, channel by channel
Add a Curves layer. The menu beside the Auto button switches from RGB to Red, Green or Blue. Working on one channel lets you aim a correction at one tonal range, such as warming only the highlights or pulling a cyan cast out of the midtones. Click the curve to add a point, or use the on-image adjustment tool and drag on the area you want to change. Keep moves small.
Another shortcut is the gray eyedropper in Levels or Curves, which remaps the picture when you click something that should be neutral. It only works if the object truly is neutral, so confirm with your samplers.
Color Balance, tone by tone
Color Balance offers Shadows, Midtones and Highlights, each with Cyan/Red, Magenta/Green and Yellow/Blue sliders from minus 100 to plus 100. Preserve Luminosity is on by default, so brightness stays put while color shifts. Start with the midtones, then refine shadows and highlights, and mask the layer if the cast affects only part of the frame.
Protecting Skin Tones
Skin sits in the reds and yellows, so almost every color edit threatens it, and a wrong skin tone is easy for a viewer to spot.
- Exclude it with Color Range. Choose Skin Tones, turn on Detect Faces if it is offered, and Invert the selection. Add your adjustment layer and the mask protects the face.
- Check the mask by eye. Automatic skin selection is never perfect. Lips, shadows and hair edges can be misjudged, so paint black or white on the mask to correct it.
- Or paint it out. A soft black brush over the skin on the mask is often faster than any selection.
- Keep the dose small. Lower the layer opacity and keep a sampler on the cheek. In most skin the red value reads highest, green sits in the middle and blue is lowest. If a correction scrambles that order, back off.
A Worked Example: Rescuing a Muddy Green
Imagine a garden portrait where the foliage looks murky olive, the shadows carry a green tint, and the subject stands in the middle of it. Here is one way to fix it without touching the person.
- Place samplers. Put one on a neutral stone path, one on the cheek and one on mid-tone foliage, and note the starting values.
- Enrich the green. Add a Hue/Saturation layer, choose Greens, pick the Targeted Adjustment tool and drag right on a leaf a little. If the greens lean yellow, nudge Hue a few points toward the cooler side of green.
- Clean the shadows. Add Selective Color, choose Greens in Relative mode and reduce Black slightly so the foliage opens up.
- Remove the cast. If shadows still look green, add Curves, pick the Green channel and lower the shadow end a little.
- Protect the subject. On each mask, paint black over skin and clothing with a soft brush, or build the mask with Color Range and Invert.
- Check. Toggle each eye icon, compare Info panel values, confirm the cheek sampler barely moved, and zoom to 100 percent to look for halos.
An orange cast from warm indoor light follows the same pattern. Add Curves and lift the Blue channel in the midtones, or use Color Balance and move the midtones slightly toward blue and cyan. Judge it on your neutral sampler, and remember that some warmth may be the look you want. For composites afterwards, see realistic photo compositing, and for matching a subject to a new sky, blend skies and foregrounds seamlessly.
Common Mistakes and How to Avoid Them
- Halos. A bright or colored fringe means the mask cuts through a transition too sharply. Raise Fuzziness, widen the fall-off, feather the mask or repaint the edge softly, and inspect at 100 percent.
- Banding. Smooth skies show steps when an adjustment is strong or narrow. Widen the fall-off, flatten steep curves and lower the opacity. If the file is 16-bit, keep it that way until you export.
- Over-saturation. Pushing a color until detail flattens looks cheap. Stop when texture starts to vanish and pull the opacity back.
- Too many layers. Several layers fighting over one color make results unpredictable. Name them and give each one job.
When Camera Raw Is the Better First Stop
Adobe describes two workflows for color and tone in Photoshop: adjustment layers and Camera Raw. Camera Raw is the better place to begin for raw files, for batches that need matching adjustments, or when you want its fuller controls. The Color Mixer panel offers hue, saturation and luminance sliders per color range, plus a Point Color tab where you sample a color and adjust it with a Range control. Color Grading adds wheels for shadows, midtones and highlights.
On any other layer, use Filter > Camera Raw Filter. Convert the layer to a Smart Object first so the filter stays re-editable, as our Smart Objects guide explains. For raw files, hold Shift while clicking Open to bring the image in as a Smart Object, and double-click that layer later to reopen your settings.
A sensible split: global color in Camera Raw, location-specific fixes on adjustment layers.
Further reading: Photoshop color correction guide · advanced color correction techniques · creative color grading in Photoshop
Frequently Asked Questions
No Tags



Comments (0)