- 21 Sep, 2025
- Michle Green
- Tips & Tricks
- 492
- 0
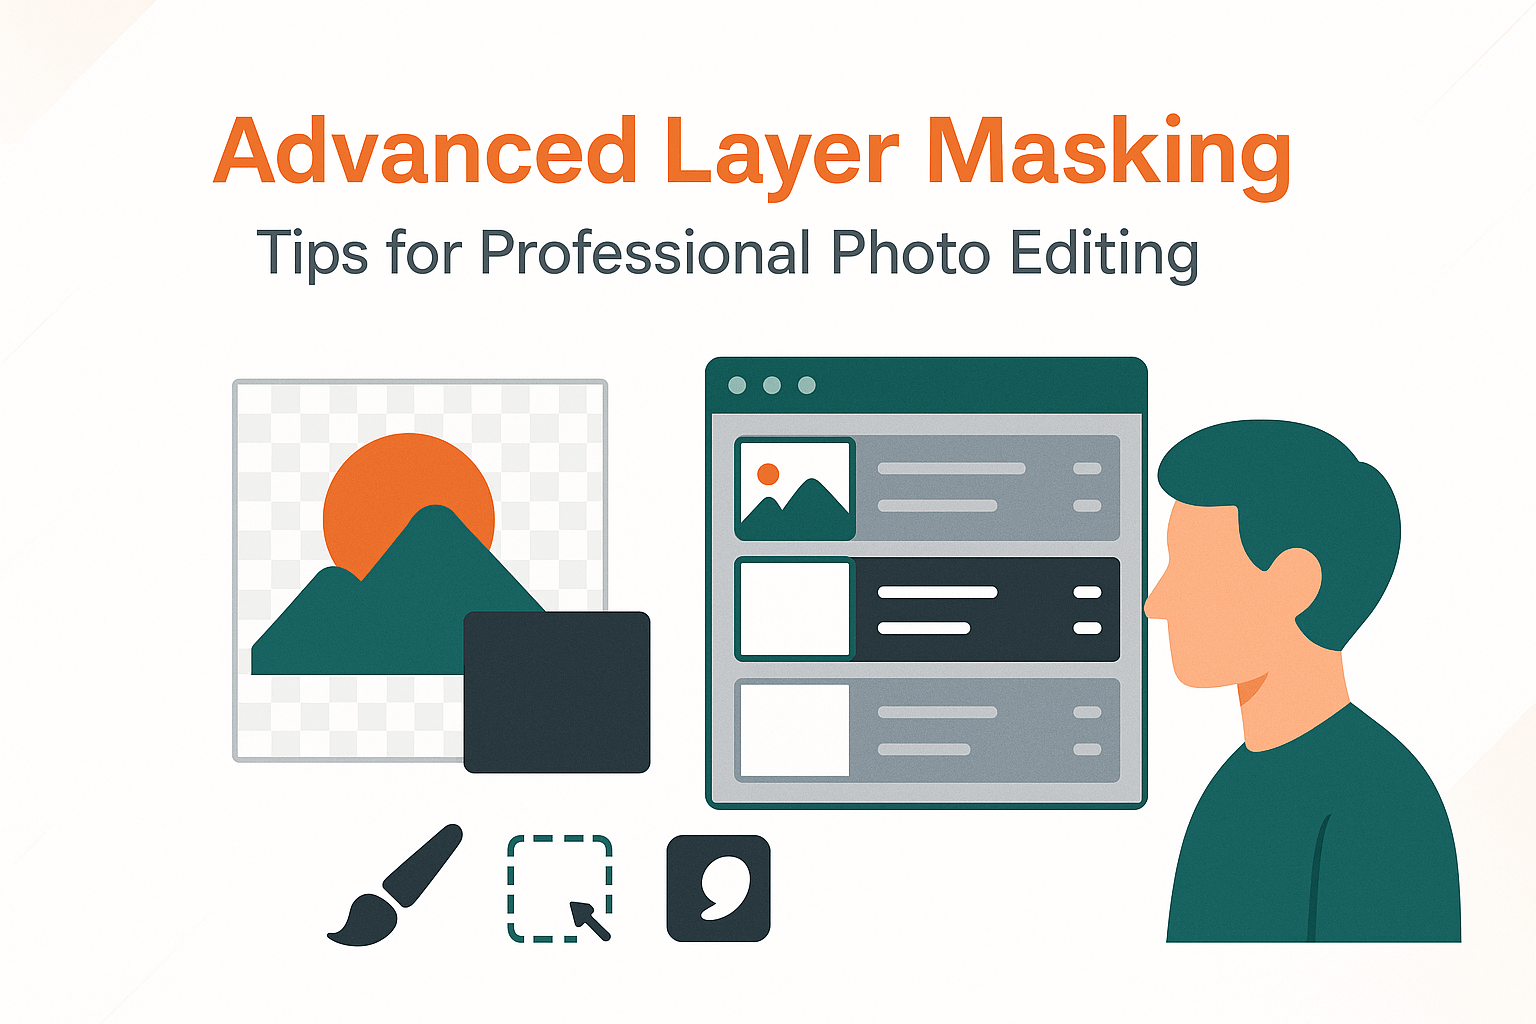
Go beyond basic hide-and-reveal. This guide shows you how pros use advanced layer masking to build clean composites, control tone with surgical precision, and keep edits fully non-destructive.
What “Advanced Layer Masking” Really Means
Layer masking is the backbone of non-destructive Photoshop editing. At a basic level, black conceals and white reveals—but advanced layer masking goes far beyond that. Pros combine pixel and vector masking, channel extractions, luminosity ranges, and Select & Mask refinements to isolate hair, blend translucent fabrics, and integrate subjects into new environments without halos or color spill.
The result is a production-ready workflow you can revisit at any time. Instead of burning changes into pixels, advanced masking keeps your composite flexible ideal for advertising, e-commerce, beauty retouching, and concept art. For foundational concepts, see Adobe’s masking overview.
Core Concepts to Master Before Going Advanced
Layer vs. Vector vs. Clipping Masks
- Layer masks (pixel-based): Grayscale values define transparency for soft, organic edges.
- Vector masks (path-based): Pen Tool precision for crisp geometric edges, infinitely editable.
- Clipping masks: A layer’s visibility is constrained by the transparency of the layer below—great for targeted adjustments.
Feather, Density, and Linking
Feather softens transitions; Density globally reduces mask strength. Link/unlink the mask to transform it independent of the layer handy when a subject shifts but the effect should stay put.
To reuse complex work, save selections as alpha channels (Channels panel). Reference: save & reuse selections.
Related reading: Clipping Mask vs Layer Mask · Pen Tool Guide
Building Precise Masks with Select & Mask
The Select & Mask workspace is your control center for hair, fur, and challenging transitions:
- Refine Edge Brush: Recover flyaways and semi-transparent strands.
- Edge Detection > Smart Radius: Adapts to mixed hard/soft edges.
- Decontaminate Colors: Neutralizes edge color spill from backgrounds.
- View modes: QA edges on black/white or overlay to spot halos.
- Get an initial selection (Select Subject, Object Selection, Quick Selection).
- Enter Select & Mask, paint tricky boundaries with Refine Edge Brush.
- Use Global Refinements (Smooth/Feather/Contrast/Shift Edge).
- Output: Layer Mask for max flexibility.
Deep dive: Select & Mask workspace.
See also: Sky Replacement in Photoshop
Channel-Based & Luminosity Masking (Pro-Level Control)
When AI slips, channels shine. Inspect R, G, and B channels for the highest subject-background contrast; duplicate and enhance with Levels/Curves. Use Apply Image and Calculations to combine channels for pinpoint selections. For tonal control, build luminosity masks (Lights, Darks, Midtones) to adjust exposure and color selectively without flattening contrast.
Save the result as alpha channels for reuse across projects. This is the gold standard for hairline detail, lace, and complex edges.
Related: Luminosity Masks in Photoshop
Vector Masks for Razor-Clean Edges
For packaging, product edges, and architectural lines, a vector mask is unbeatable. Create a precise path with the Pen Tool, convert to a vector mask, and enjoy infinitely sharp edges at any output size. For realism in composites, pair a vector mask for hard geometry with a subtle pixel mask to taper shadows and reflections.
Blend If, Gradients & Mask-Refinement Combos
Blend If lets you blend based on tonal thresholds perfect for fast sky swaps and texture overlays. Split the sliders (Alt/Option-drag) to feather the transition. Follow by “baking” the blend to a mask if you need to hand-tune problematic zones.
Use gradient masks for atmosphere, fades, and reflective falloff. Fine-tune with mask Density and Feather, then dodge/burn directly on the mask at low flow for micro-corrections.
Related: Non-Destructive Dodge & Burn
Smart Objects, Multiple Masks & Reusability
Photoshop limits a layer to one pixel mask and one vector mask—but Smart Objects let you nest content and effectively stack masks across levels. Convert a layer to a Smart Object, mask the parent, then open it and mask internals as needed.
- Duplicate masks: Alt-drag a mask thumbnail to copy it.
- Transform masks independently: Unlink, transform, relink.
- Build a channel library: Save alpha channels for future files.
Related: Photoshop Smart Objects
Color Contamination Cleanup (De-Fringe, Spill Suppression)
Edge color spill ruins realism. Fix it by enabling Decontaminate Colors during Select & Mask, or clip a Hue/Saturation layer to the masked subject and desaturate the fringe range. For stubborn cases, lightly paint on the mask edge or use a low-opacity clone on a cleanup layer.
AI-Assisted Object/Sky/People Masking: When & How to Trust It
Tools like Select Subject, Select Sky, and Mask All Objects deliver rapid first passes. Treat them like assistants: accept speed, expect imperfections. Always audit hair, glass, and fine textures. Follow up with channel or manual refinements before final delivery.
Related: Generative AI in Photoshop
Advanced Compositing Recipes
Recipe 1: Hair & Transparent Fabric Composite
- Initial selection with Select Subject → enter Select & Mask.
- Refine Edge Brush on hair and semi-transparent fabric; Smart Radius on.
- Enable Decontaminate Colors to control green/blue spill.
- Add a gradient mask at the fabric edge for soft atmospheric integration.
- QA against black/white backgrounds to catch halos.
Recipe 2: Product on a Complex Background
- Pen Tool path → vector mask for razor edges.
- Add a pixel mask for soft shadow transitions and micro-feathering.
- Create a reflection with a gradient mask and reduced opacity.
- Check edges at 100–200% zoom; fix matte lines with subtle mask blurs.
Recipe 3: Dramatic Sky Replacement Without Halos
- Use Blend If to quickly separate sky luminance.
- Convert to a mask and refine with a luminosity selection for treetops.
- Neutralize edge color spill with a clipped Hue/Saturation adjustment.
- Fine-tune with mask density and a soft brush at low flow.
More composites: Realistic Photo Compositing
Non-Destructive Adjustment Layer Masking
Every adjustment layer ships with a mask. Use it to localize Curves, Color Balance, and Selective Color edits, or create a mask from transparency (Layer > Layer Mask > From Transparency) for precise tonal targeting. Stacking multiple adjustment layers with distinct masks keeps the file flexible and review-friendly.
Related: Targeted Color Correction
Speed & Consistency: Actions, Presets, and QA Checklist
- Actions: Automate repetitive steps (channel build, mask refine, decontaminate).
- Presets/Baselines: Keep standard feather/density values for brand consistency.
- QA: Inspect at multiple zoom levels, toggle against black/white, and test on mid-gray to spot subtle halos.
Document your pipeline and store reusable alpha channels. Your future self (and teammates) will thank you.
Troubleshooting Guide
Halos Around Edges
Feather slightly or apply a tiny Gaussian Blur to the mask. If the background leaks, paint on the mask with a low-flow brush and check for color contamination.
Color Spill / Fringe
Use Decontaminate Colors or a clipped Hue/Saturation layer that targets fringe hues. For stubborn spill, sample the edge color and paint it back with a soft Color blend-mode layer.
Banding in Soft Transitions
Work in 16-bit, add a whisper of noise, or slightly increase feather to break up visible steps.
Misaligned Mask vs. Layer
Unlink the mask, transform it independently, then relink. This fixes parallax and perspective tweaks without destroying the mask.
Pro Tips & Final Checklist
- Audit edges on black, white, and 50% gray backgrounds.
- Name masks and channels consistently; back up complex alphas.
- Favor subtle feathering for realism; reserve hard edges for geometry.
- Keep everything non-destructive: masks + adjustment layers + Smart Objects.
Authoritative Resources
- Adobe: Use masks to hide layers
- Adobe: Select & Mask workspace
- Adobe: Save selections & alpha channel masks
If you enjoyed this guide, explore our related tutorials: Sky Replacement · Clipping vs Layer Masks · Pen Tool · Luminosity Masks.
Frequently Asked Questions
No Tags



Comments (0)