
- Updated
- Digerati
- Tips & Tricks
- 979
- 0
Both clipping masks and layer masks control what you see in Photoshop, but they decide visibility in completely different ways. This guide explains what each one does, how to create them, when to pick one over the other, and how to combine them for clean, non-destructive edits.
Quick Answer: Clipping Mask vs Layer Mask
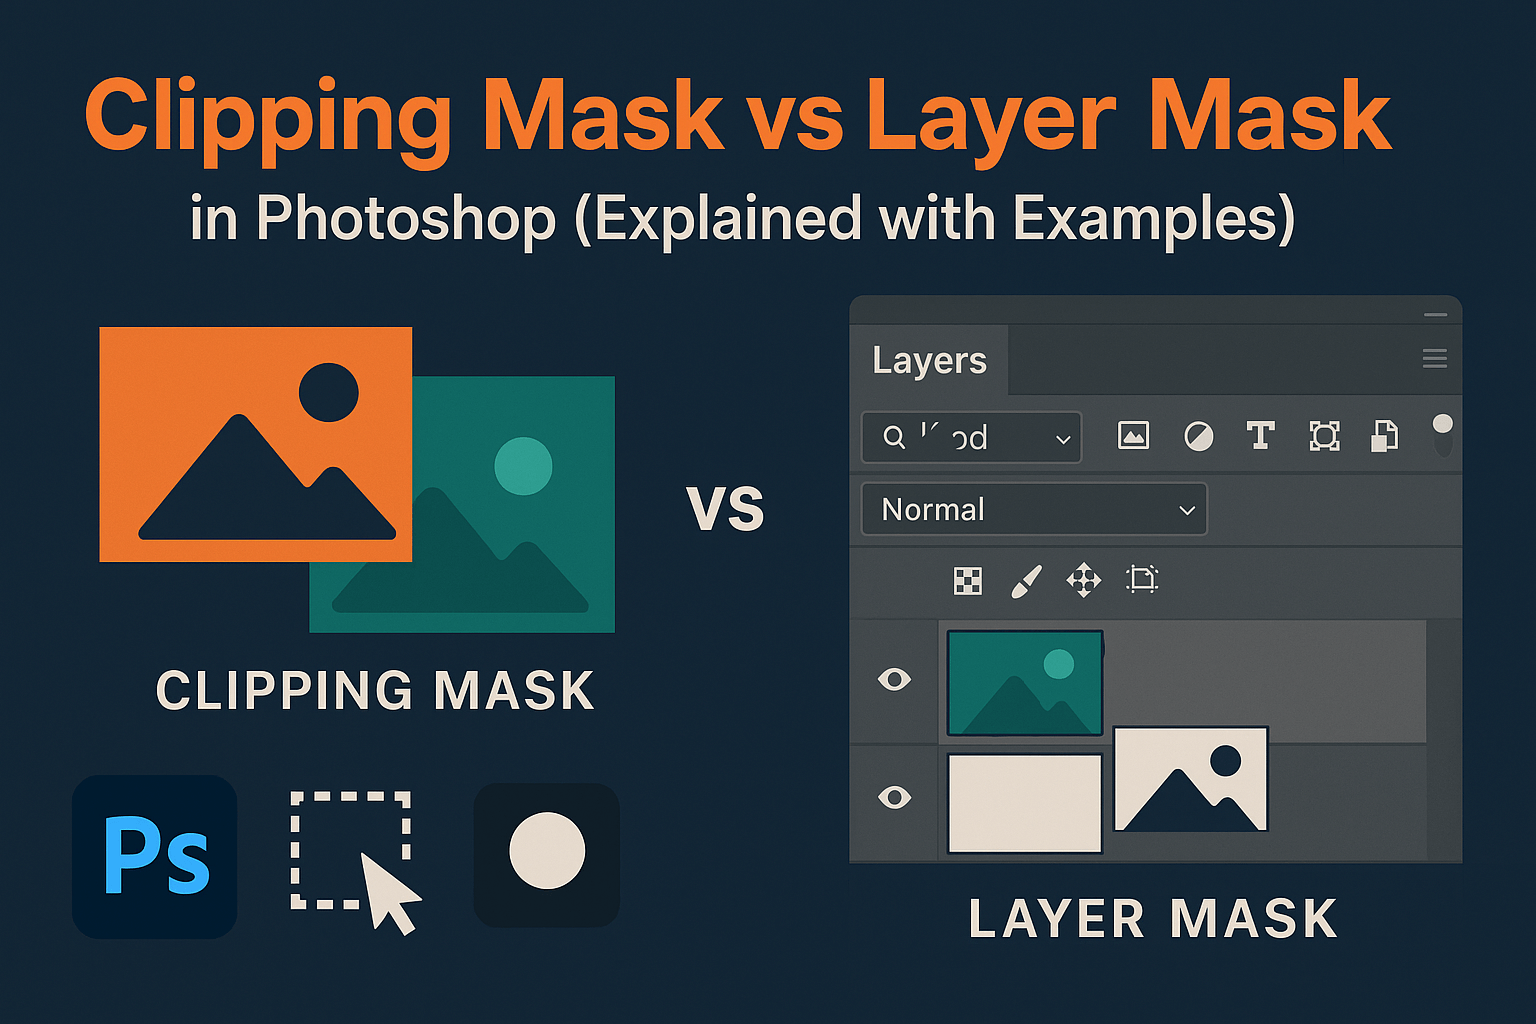
A layer mask hides or reveals parts of a single layer using grayscale paint: black hides, white shows, gray is partly transparent. A clipping mask uses the shape of one layer (the base) to limit where the layers above it are visible. Use a layer mask to hide part of a photo; use a clipping mask to put an image, texture or adjustment inside a shape, text or another layer.
What Is a Layer Mask?
A layer mask is a grayscale image attached to a layer. Black conceals, white reveals, and gray provides partial transparency. This allows you to hide or reveal parts of a layer non-destructively, because the original pixels are never deleted.
Example: if you want to remove a background behind a subject, you can paint black on the layer mask to hide it, while keeping the pixels intact in case you need to restore them later. Painting white brings them straight back.
Each layer can hold one layer (pixel) mask and one vector mask. Layer groups and adjustment layers can carry masks too, which is useful when you need to hide several layers at once.
Learn more in our deep dive: Advanced Layer Masking.
What Is a Clipping Mask?
A clipping mask uses the transparency of one layer (the base) to control the visibility of the layers above it (the clipped layers). The clipped layers only show where the base layer has visible pixels. Wherever the base is transparent, the clipped content disappears.
Example: place a texture above a text layer, then create a clipping mask. The texture only appears inside the letters, leaving the rest invisible. Edit the text later and the texture follows the new letters automatically.
In the Layers panel, a clipped layer is indented and shows a small bent arrow pointing down to the base, and the base layer's name is underlined. Several consecutive layers can be clipped to the same base, and all of them take on the base layer's opacity and blending mode.
How to Create a Layer Mask
- Select the layer in the Layers panel.
- Click the Add Layer Mask button (the rectangle with a circle) at the bottom of the Layers panel. You get a white mask that reveals the whole layer.
- Press D to set the default colors, choose a soft Brush, and paint black on the mask to hide areas. Press X to swap to white and reveal them again.
Useful variations:
- From a selection: make a selection first (for example with Select > Subject), then click Add Layer Mask. Everything outside the selection is hidden.
- Hide everything: Alt-click (Windows) or Option-click (Mac) the Add Layer Mask button to create a black mask, then paint white to reveal only what you need.
- Menu route: Layer > Layer Mask > Reveal All, Hide All, Reveal Selection or Hide Selection.
- Check your mask: Alt/Option-click the mask thumbnail to view the mask on its own, and Shift-click it to turn the mask off and on.
How to Create a Clipping Mask
- Arrange your layers so the content layer (image, texture or adjustment) sits directly above the base layer (text, shape or cut-out).
- Select the upper layer.
- Use any of these methods:
- Choose Layer > Create Clipping Mask, or right-click the layer and pick Create Clipping Mask.
- Press Ctrl+Alt+G (Windows) or Cmd+Option+G (Mac).
- Hold Alt (Windows) or Option (Mac) and click the line between the two layers in the Layers panel.
To undo it, choose Layer > Release Clipping Mask, press the same shortcut again, or Alt/Option-click the line between the layers a second time.
For adjustment layers there is a faster option: click the clip to layer icon at the bottom of the Properties panel. If you create the adjustment through Layer > New Adjustment Layer, tick Use Previous Layer to Create Clipping Mask in the dialog.
Key Differences Between Clipping and Layer Masks
| Feature | Layer Mask | Clipping Mask |
|---|---|---|
| How it works | Uses black/white/gray painting to hide or reveal areas | Uses the transparency of the base layer to show or hide the clipped layers |
| Where it lives | A thumbnail attached to the layer itself | A relationship between two or more stacked layers |
| How you edit it | Paint, fill or use selections on the mask | Change the shape, text or pixels of the base layer |
| Partial transparency | Gray values and soft brushes give gradual fades | Follows the base layer's own soft edges and transparency |
| Non-destructive? | Yes | Yes |
| Shortcut | Alt/Option-click Add Layer Mask for a black mask | Ctrl+Alt+G (Windows) or Cmd+Option+G (Mac) |
| Best for | Selective visibility, background removal, composites | Applying textures, adjustments or images to specific shapes |
| Number allowed | One per layer (plus a vector mask) | Multiple consecutive layers can be clipped to one base |
When to Use Each (with Examples)
Hiding Part of a Photo: Layer Mask
Use a layer mask whenever you need to decide, area by area, what part of one layer stays visible.
- Select the subject with Quick Selection or Select > Subject.
- Click the Add Layer Mask button. The background is hidden non-destructively.
- Paint on the mask with a soft brush to refine edges, or use Select and Mask for hair and fur.
The same approach works for blending two exposures, fading one photo into another, and replacing a sky. For hard-edged objects such as products, a path drawn with the Pen Tool gives a cleaner mask than painting by hand.
Text with an Image Inside: Clipping Mask
- Type your text on a new layer, using a bold, heavy font.
- Place a photo or texture above it.
- Right-click the photo layer and choose Create Clipping Mask. The image fills only the text.
- Use the Move tool to reposition the image inside the letters.
Because the text stays live, you can change the words or font at any time without redoing the effect. The same trick fills shapes, logos and frames with images.
Clipped Adjustment Layers: Clipping Mask
By default, an adjustment layer affects every layer below it. Clip it to one layer and it only changes that layer. This is the standard way to color-match a subject to a new background: clip a Curves or Hue/Saturation adjustment to the subject so the background stays untouched. Our guide to targeted color correction shows this in more detail.
Using Both Together
Professional workflows rarely use one without the other. A clipping mask respects the base layer's visible pixels after its layer mask is applied, so masking the base also shapes everything clipped to it.
- Apply a layer mask to a subject for a clean cut-out, then clip a Curves or Color Balance adjustment to it for color grading on that subject only.
- Create text filled with an image using a clipping mask, then add a layer mask to the image layer to fade part of the texture for polish.
- Clip an adjustment layer and paint on its own mask to limit the change to one part of the subject, such as brightening only the face.
This combination is the backbone of realistic photo compositing. For even more flexibility, see our guide on Smart Objects for Masking.
Common Mistakes and Troubleshooting
- Clipping mask shows nothing: the base layer has no visible pixels where the clipped content sits. Check that the base is filled, and that its own mask is not hiding the area.
- Clipped layer fades or changes color unexpectedly: clipped layers take the base layer's opacity and blending mode. Reset the base to 100% and Normal to check.
- Wrong layer gets clipped: clipping always uses the layer directly below. Reorder the stack before you clip.
- Painting changes the image instead of the mask: the layer thumbnail is active, not the mask. Click the mask thumbnail so it shows a white border.
- Erasing instead of masking: the Eraser deletes pixels for good. Use a mask so you can always paint them back.
- Need more than one mask on a layer: put the layer in a group and mask the group, or convert it to a Smart Object and add another mask.
Pro Tips
- Press \ (backslash) with a mask selected to see it as a red overlay on the image.
- Shift-click a mask thumbnail to switch it off and compare before and after.
- Drag a mask to another layer to move it, or Alt/Option-drag to copy it.
- Ctrl/Cmd-click a mask thumbnail to load it as a selection, then save it as an alpha channel for reuse.
- For masks based on brightness, such as protecting highlights in a landscape, try luminosity masks.
- Clip a 50% gray layer in Overlay mode to a subject for non-destructive dodge and burn that cannot spill onto the background.
Related Reading
- Advanced Layer Masking
- Photoshop Pen Tool Guide
- Luminosity Masks in Photoshop
- Smart Objects for Masking
- Realistic Photo Compositing
Conclusion
Clipping and layer masks are building blocks of Photoshop mastery. A layer mask decides what part of one layer you see; a clipping mask decides which layers show through the shape of another. Use layer masks for cut-outs and blends, clipping masks for text effects and targeted adjustments, and combine them when you need both precision and control. Once you understand both, explore our advanced guides on layer masking and sky replacement to push your editing skills further.
Frequently Asked Questions
No Tags



Comments (0)