
- Updated
- Digerati
- Tips & Tricks
- 930
- 0
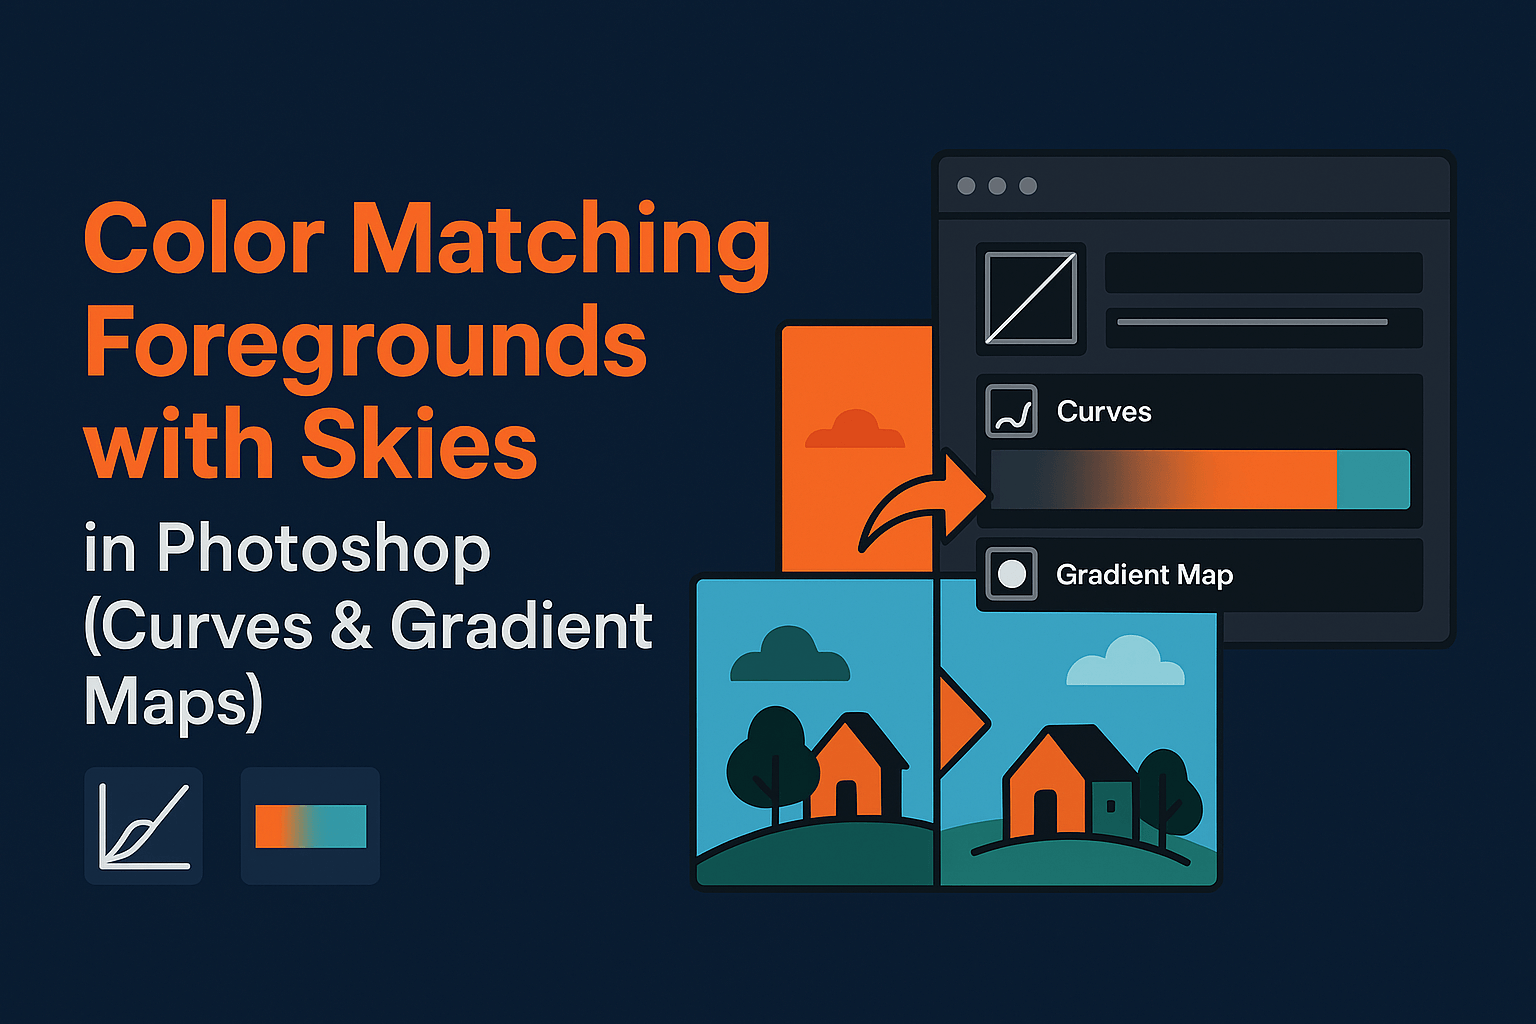
A perfect sky replacement can still look fake if the foreground colors don't match the new sky. In this tutorial, we walk through how to read the light in your new sky and then use Curves, Color Balance, Gradient Maps, Photo Filter, Match Color and luminosity masks in Photoshop to make the foreground and sky look like they were captured in the same moment.
Why Color Matching Is Crucial
Replacing a sky changes the light source of the whole scene. A golden-hour sky warms the highlights beneath it, a twilight sky cools the shadows, and an overcast sky lowers contrast. If your foreground still carries the light of the original sky, the composite instantly looks fake. Proper color harmony ensures the sky and subject feel like they belong in the same photo.
Adobe highlights the importance of color correction and adjustment layers in creating natural-looking edits.
If you have not placed your sky yet, start with our main sky replacement guide, and choose a sky that suits the scene with our list of the best skies for sky replacement.
Step 1: Read the Light in Your New Sky
Before you touch an adjustment, study the sky you placed. You are looking for three things:
- Color temperature: Is the light warm (orange, gold, pink) or cool (blue, cyan, violet)?
- Direction: Where is the brightest area, and where would the sun be? The side of the foreground facing that area should receive the warmest, brightest light.
- Brightness and contrast: A bright midday sky calls for strong contrast and clear shadows. A soft overcast or dusk sky calls for lower contrast and lifted shadows.
Use the Color Sampler Tool (grouped with the Eyedropper) to place a few sample points in the sky's highlights and darker areas, and in matching tones of the foreground. Open Window > Info to compare their RGB values as you work.
Step 2: Set Up a Non-Destructive Layer Stack
Keep the foreground on its own layer (or group) with a clean mask, and put every correction above it as a clipped adjustment layer. To clip a layer, hold Alt (Windows) or Option (Mac) and click the line between the two layers in the Layers panel, or press Ctrl+Alt+G (Cmd+Option+G on Mac). A clipped adjustment only affects the layer directly beneath it, so the sky stays untouched.
Converting the foreground to a Smart Object keeps its original pixels editable underneath your corrections.
Method 1: Curves Per Channel for Precise Color Balance
Curves gives you the most control because you can shift color separately in the shadows, midtones and highlights.
- Add a Curves adjustment layer above your foreground (Layer > New Adjustment Layer > Curves).
- Clip it to the foreground layer (Alt/Option + click between layers).
- In the Properties panel, switch the channel menu from RGB to Red, Green or Blue to adjust individual channels and align tones with the sky.
- For example, if your new sky is warm, raise the upper part of the Red curve and lower the upper part of the Blue curve to add red and reduce blue in the highlights of the foreground.
- For a cool twilight sky, raise the lower part of the Blue curve slightly instead.
Pro tip: Use the eyedropper tools in Curves to sample and set black, gray and white points. The gray point eyedropper removes an old color cast when you click a foreground area that should be neutral.
Keep moves small: big swings in a single channel produce obviously edited skin, foliage and buildings.
Method 2: Color Balance for Quick Warm or Cool Shifts
- Add a clipped Color Balance adjustment layer (Layer > New Adjustment Layer > Color Balance).
- Use the Tone menu to choose Shadows, Midtones or Highlights.
- Move the Cyan/Red, Magenta/Green and Yellow/Blue sliders toward the color of the sky for each tonal range.
- Leave Preserve Luminosity checked so the brightness of the foreground does not change while you shift color.
For sunsets, aim for warm highlights and slightly cooler shadows, since shadow sides are lit by the blue sky rather than the sun.
Method 3: Gradient Maps for Overall Mood
- Create a Gradient Map adjustment layer and clip it to the foreground.
- Click the gradient in the Properties panel to open the Gradient Editor, and sample two key colors from the new sky: one from highlights, one from shadows. The left stop maps to the darkest tones, the right stop to the brightest.
- Apply the gradient map to the foreground with a low opacity (10-30%).
- Set the blending mode to Color or Soft Light for subtle integration.
This method works especially well for matching overall mood (golden hour, twilight, stormy skies).
Method 4: Photo Filter for a Simple Temperature Match
When the only difference between sky and foreground is warmth, a Photo Filter adjustment layer (Layer > New Adjustment Layer > Photo Filter) is the simplest fix. Choose a warming or cooling preset, or click the color swatch and sample a color from the sky. Keep Preserve Luminosity on, set Density low, and clip it to the foreground.
Method 5: Match Color for a Fast Starting Point
Photoshop's Match Color command can analyze the sky and push the foreground toward it automatically.
- Make sure the document is in RGB mode; Match Color works only in RGB.
- Duplicate the foreground layer (Ctrl/Cmd+J). Match Color is not an adjustment layer, so you apply it to a copy and keep the original as a backup.
- With the copy selected, go to Image > Adjustments > Match Color.
- Under Image Statistics, set the Source to the current document and the Layer to your sky layer.
- Adjust Luminance and Color Intensity, then raise Fade to reduce the effect. Check Neutralize if the result picks up a strong color cast.
- Click OK, then lower the copy's opacity or mask it.
Targeting Tones With Luminosity Masks and Blend If
Sometimes only certain tonal ranges (like highlights or shadows) need correction. That's where luminosity masks come in:
- Create a luminosity mask targeting highlights.
- Apply Curves or Gradient Maps only to those selected areas.
- This ensures natural, selective adjustments without over-editing.
For a quicker option, use Blend If. Double-click an adjustment layer to open Layer Style, then drag the Underlying Layer sliders so the adjustment only shows in brighter or darker tones. Hold Alt/Option while dragging a slider to split it.
Blend modes help too: set contrast Curves layers to Luminosity so they don't shift hue, and color-shifting layers to Color so they don't change brightness.
For corrections that need to hit one specific color, such as green grass under an orange sky, our guide to targeted color correction covers Hue/Saturation and Selective Color in depth.
Matching Brightness and Contrast
The foreground also needs the brightness and contrast the sky implies. Add a clipped Curves layer in Luminosity mode and move the midtones until the foreground sits naturally under the sky.
Then shape the light: surfaces facing the bright part of the sky should be brighter and warmer, the opposite side darker and cooler. Paint this on the adjustment masks with a soft, low-opacity brush, or use non-destructive dodge and burn.
Light Wrap and Edge Color
Bright sky light spills slightly around foreground edges. Without it, horizons, trees and rooftops look cut out.
- Create a new empty layer above the foreground and clip it.
- Set its blend mode to Screen or Soft Light.
- Sample a color from the sky right next to the edge with the Eyedropper.
- With a soft brush at 10-20% opacity, paint along the edges that touch the brightest part of the sky.
Also check for fringing: a thin halo of the old sky color can remain along fine details. Refine the mask with the techniques in our advanced layer masking guide, or paint over the fringe on a clipped layer in Color mode using a sampled edge color. Glass and water surfaces need extra care, because they should reflect the new sky; see our guide to sky replacement with reflections and glass.
Check Your Work With a Grayscale Layer
Add a Black & White or Hue/Saturation adjustment layer (Saturation at -100) at the very top of the layer stack, not clipped. Without color, any brightness mismatch between foreground and sky is obvious; fix it with Curves in Luminosity mode.
Final Polish: Unify the Whole Image
Once the foreground matches, add one or two adjustment layers at the top of the stack, not clipped, so they affect the sky and foreground together. A low-opacity Color Lookup or gentle Curves layer ties everything into one grade. Our realistic photo compositing workflow shows how this final grade fits into a larger composite.
Common Mistakes to Avoid
- Foreground looks oversaturated? Lower adjustment layer opacity or switch blending mode to Color.
- Foreground too flat? Use Curves to restore local contrast after color matching.
- Colors don't blend evenly? Apply a feathered mask to gradient maps for smoother transitions.
- Matching the sky's color, not its light: a foreground does not turn fully orange under a sunset. Shift the highlights strongly and leave the shadows and neutral tones closer to the original.
- Ignoring direction: warming the whole foreground evenly when the light clearly comes from one side.
- Unclipped adjustments: accidentally recoloring the sky.
Pro Tips for Seamless Blending
- Match shadows: If the sky is warm, add subtle warm tones to shadow areas of the foreground, but keep them cooler than the highlights.
- Distance matters: distant hills and buildings take on more sky color and less contrast.
- Use the built-in options first: Edit > Sky Replacement includes Lighting and Color Adjustment sliders for the foreground. Use them first, then refine.
- Check at different sizes: zoom out for mood, then 100% for edges.
Working on property photos? Our real estate sky replacement guide covers windows, white walls and lawns.
Related Reading
- Sky Replacement in Photoshop
- Advanced Layer Masking
- Luminosity Masks in Photoshop
- Realistic Photo Compositing
- Targeted Color Correction
Conclusion
Color matching is the final step in achieving realism. Read the color, direction and brightness of your new sky first, then match the foreground in passes: Curves or Color Balance for precise shifts, a Gradient Map or Photo Filter for mood, Match Color for a quick start, and luminosity masks or Blend If to keep each fix in the right tones. Whether you're working on sky replacements or advanced composites, this approach ensures professional, seamless results.
Frequently Asked Questions
No Tags



Comments (0)